You’ve decided that you want to have a photo or painting printed, but you aren’t sure what size yet. In fact, you don’t really even know what sizes are possible. Does your photo make a 16×20 or a 16×24? What if you want to hang a photo on your wall in a space that measures 22×31″, can you do that? What if you want to add a border but keep an overall standard size? Where do you go from there?
It’s very common that people send us an image to print and ask for a size that doesn’t work well for their photo or painting. In response to telling them it’ll have to be cropped they often ask if we can just make the print larger or smaller, but that usually doesn’t address the problem.
This is a scenario we face every day, and though it can be confusing at first, it’s pretty easy to handle once you understand what’s going on. Essentially there are two things at play when it comes to knowing what to do with your prints: size and aspect ratio.
SIZE VS. SHAPE
Size can be easily expressed as “how big is it?”
Aspect ratio, sometimes called proportion, can be more understandably expressed as “what shape is it?”
SQUARE EQUALS SQUARE
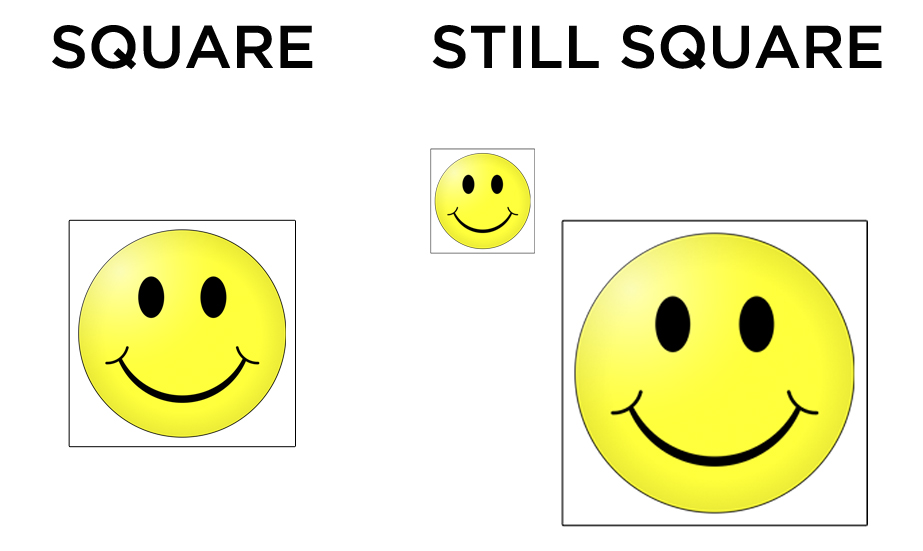
To illustrate this idea, imagine that someone brings you a square. They may ask you to make it smaller (say, 2″x2″), or they may ask you to make it larger (say 20″x20″). In this scenario the size changes, but the shape stays the same, so it’s pretty easy to just make the square bigger or smaller and it will look exactly like the original square:
SQUARE DOES NOT EQUAL TRIANGLE
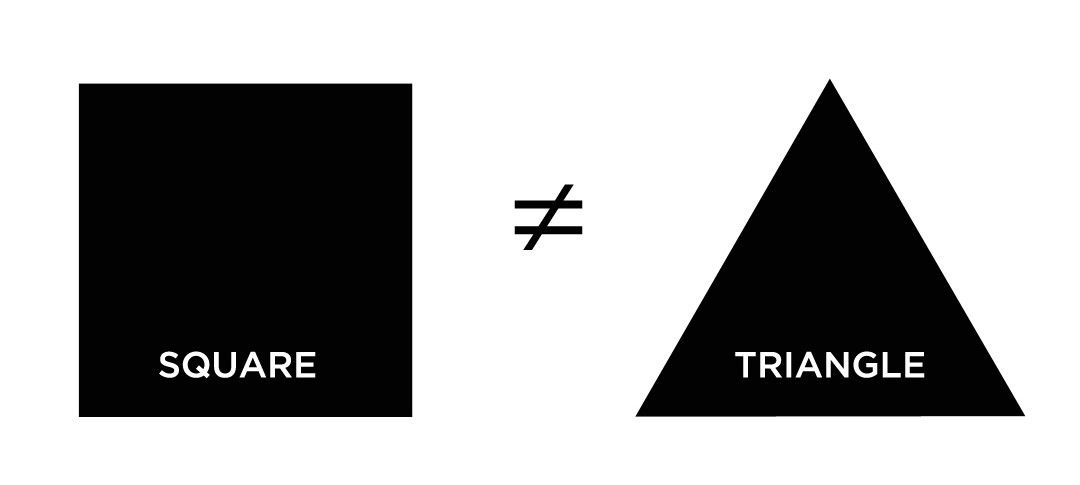
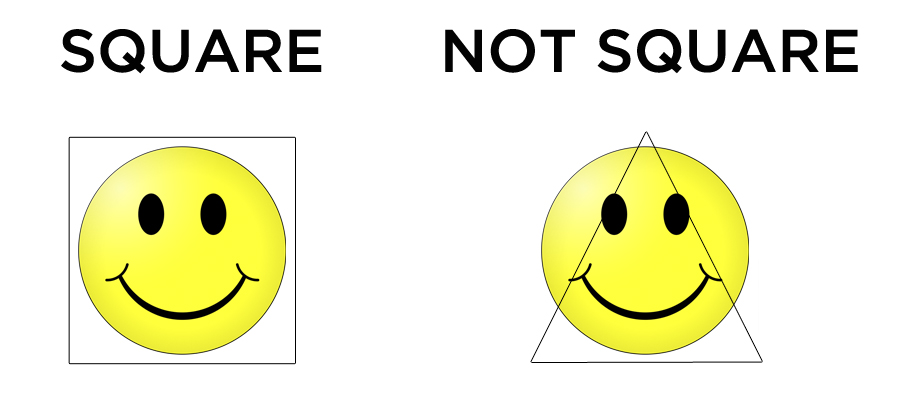
Now, what if this person brings you a square and asks for a triangle? It doesn’t take long to see that something has to give. No matter what size triangle they ask for something about the square has to change to make it a triangle; a bigger or smaller triangle won’t solve the problem. This is the case with aspect ratio. If your image is shaped one way and you ask for a size that is shaped differently then something has to be changed. In other words, if you bring me a square and ask for a triangle then I must change your square.
ASPECT RATIO IN PRACTICE
So, how does this apply to your photos? Why is this even an issue? It’s because of the shape of the sensor inside your digital camera, the film you shot your image on, or your original painting. Here’s an example using 35mm film.
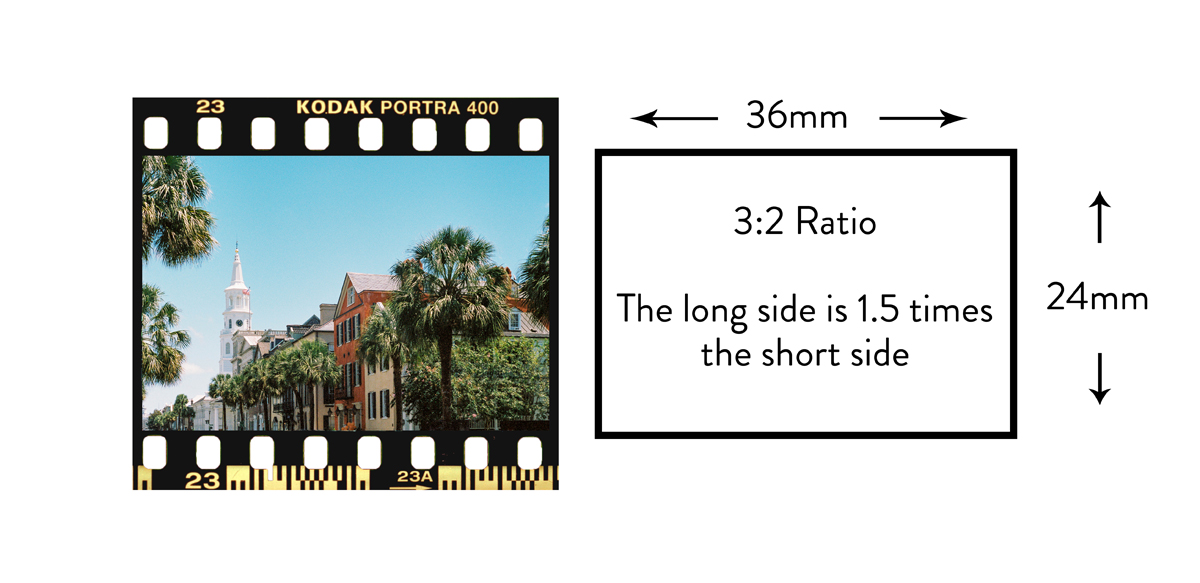
Have a look at the photo above. A piece of 35mm film has a certain shape to it. It measures 36mm wide by 24mm tall, and the result of this is that the photo will have this same shape straight out of the camera. Though we are looking at film, not digital, in this example it is with good reason. Most digital SLRs and mirrorless cameras are designed with a sensor based off of this same shape that carried over from film, and so that means there’s a good chance that the photo you take is going to be this same shape. So, if you ask for a print that is a different shape, something must occur to account for the difference.
To get technical, as you can see in the image above, many cameras produce a rectangle in a 3:2 aspect ratio. Another way to say that is to say the long side is 1.5X longer than the short side, so every time you make the short side larger you must increase the longer side by 1.5 times that amount to maintain the full image. Yet another way to say that is that you can make the following sizes (among many others) and maintain the original photo shape: 8×12, 11×16.5, 12×18, 16×24, 20×30, 30×45, 40×60.
This same thing applies to an original painting. Your painting will have a certain shape to it determined by the size of the paper or canvas you painted it on.
DUELING ASPECT RATIOS
But what if you want to make a 16×20 instead of a 16×24? We can do that, it simply means that your original image must be changed. Since, in this example, the original shape would produce a 16×24, and you want a 16×20, then we have to change the shape of your photo. The same idea applies to other sizes. Say you want an 8×10, but your camera naturally makes an 8×12. In this case, two inches have to go off the long side. Here’s a visual representation of cropping the image to change the size:
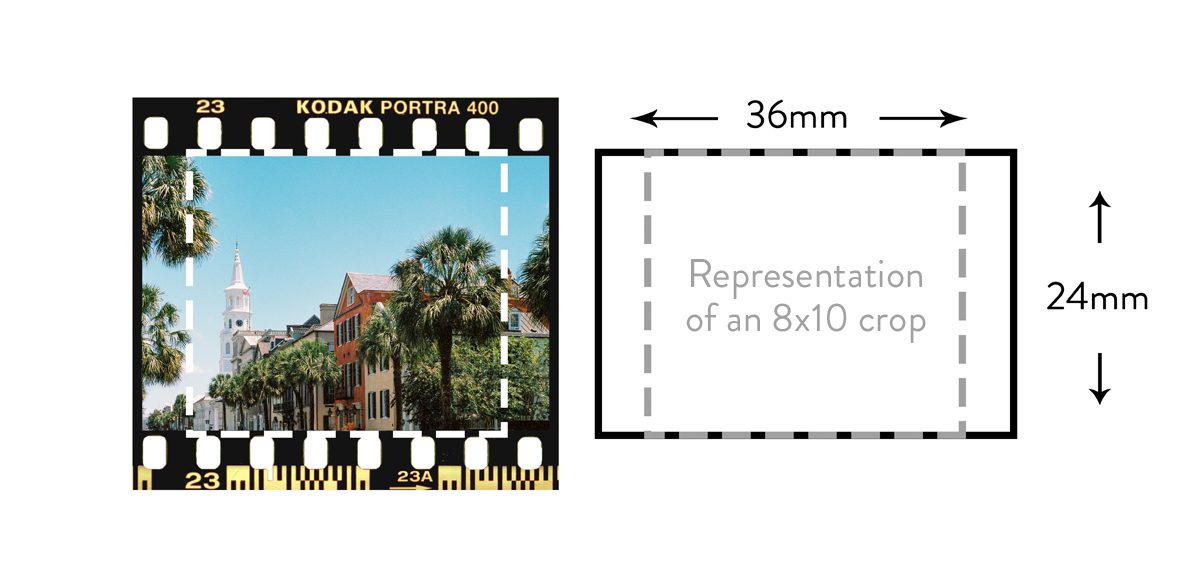
The image above shows the same 35mm photo, but this time it has dashed lines overlaying it that represent the shape of an 8×10 print, which is a 5:4 aspect ratio. So you can see that in order to change the shape of the photo we must crop some of it away. In this case the natural size of the photo which would require no cropping at all would be 8×12″.
Again, the same principle applies to original paintings. If you want a print that is a different aspect ratio from your original painting then it too would have to be cropped in the same manner.
DO ALL CAMERAS HAVE THIS SAME ASPECT RATIO?
No, that would be too easy!
There is certainly some variation. For example, most smartphones and compact “point and shoot” cameras produce photos that are shaped differently than DSLRs and mirrorless cameras. Many of them shoot in a 4:3 aspect ratio, or you can even choose a 16:9 aspect ratio if you’re going for a widescreen, cinematic look.
SO WHERE DOES THAT LEAVE US?
Since we are custom printers we have almost no size limitations. You don’t have to want a standard size when you come to us, you can have just about whatever you like or whatever size best fits the space you would like to hang your photo, and we are always happy to have a look at your photos and let you know what sizes they can make or what we need to do to make the size you’re wanting.
We understand this can all be confusing because you likely don’t deal with it on a daily basis! That’s no problem at all. Whenever you send us a file to print and it doesn’t match the size you’re asking for we will always let you know. Though we’ve mostly talked about cropping so far, in general there are three options for handling it.
CROPPING
1. Crop the image. This is the same as what we mentioned above where some of your photo must be cropped out. We can send you an example of how this would look before we print so you can be sure you’re happy with it. Here is an example of cropping an image:

ADDING A BORDER
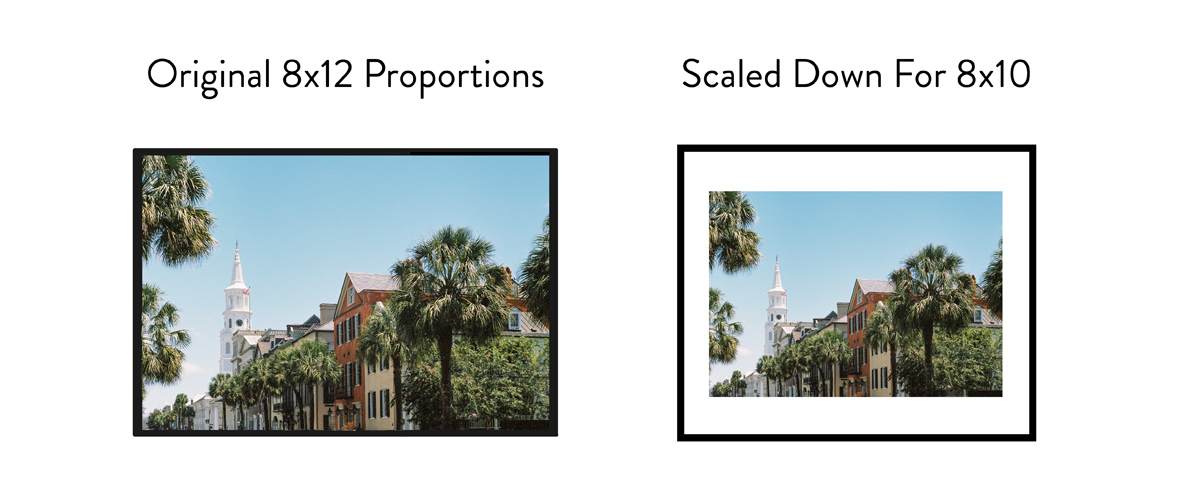
2. We can make your image slightly smaller and then add borders to your photo so that you can get a standard print size while not changing the image itself. This approach often results in uneven borders on the left/right vs. the top/bottom (note the example below), but frequently this isn’t objectionable and again you will have the opportunity to see it first. Many people like this approach because it doesn’t change anything about their original work yet results in a standard, easily frame-able overall page size. Therefore your customer isn’t forced into getting custom framing. Currently this is the most popular approach we’re seeing people take.
FORCING TO SIZE
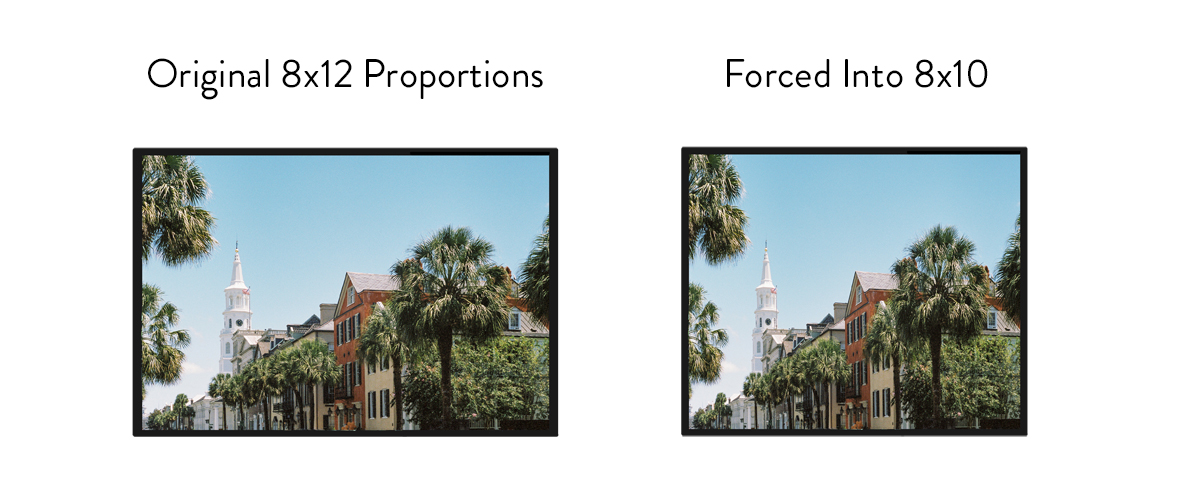
3. We force the image to be the size you want even if the original proportions don’t match. This option will distort your image some, but if it is slight it may not be enough to matter. To illustrate this idea better, imagine a deflated balloon on which you have drawn a smiley face. Now, if you took that balloon, held it on the left and right sides, and then pulled it you would notice the smiley face stretches out. If you pull only slightly then it barely stretches. If you pull hard then it stretches a lot, maybe even to the point it doesn’t look like a smiley face at all. This is the general idea in this approach.
You will always have the opportunity to approve it or change things before we get started printing. We won’t ever print it without checking with you first.
EASIEST SOLUTION? JUST ASK US!
As always, if you are unsure about the sizes that your photo can make you can always get in touch with us and we’ll tell you everything you need to know about it.
